In the past, QuickBooks® Online Accountant was simply a portal to access your QuickBooks Online clients’ books. Today, it’s much more. QuickBooks Online Accountant is the one place where you can manage all of your clients and the work you do for them, even if they are not on QuickBooks. You’ll be able to organize and view contact information, assign and track projects, and collaborate with clients and your team.
To take full advantage of this powerful platform, you’ll want to have all of your firm’s clients on your client list, whether they use QuickBooks Online or not. How you approach adding a client to your list varies depending on the circumstances. We’ll discuss three common client types and how best to bring them aboard.
Client Type 1: “Does not have QuickBooks Online yet, but they are a great fit and I want to subscribe them”
If your client has not signed up for QuickBooks Online, adding them through QuickBooks Online Accountant is the way to go for a variety of reasons.
You’ll be able to:
- Ensure your client is signed up for the subscription level that best fits their needs.
- Take advantage of discounts.
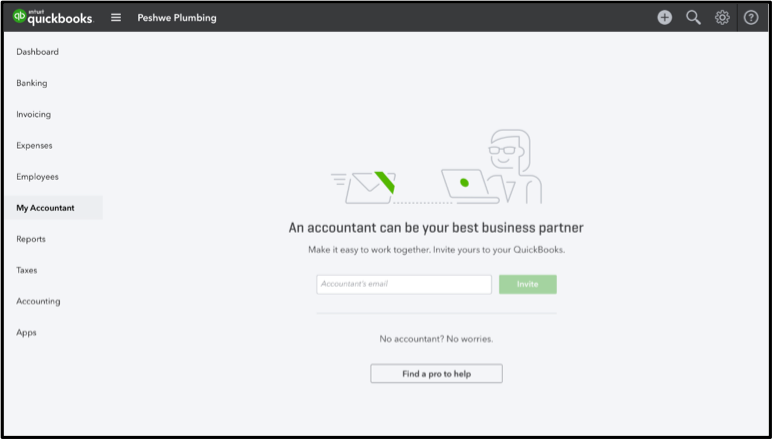
- Access your client’s books right away, using your own login credentials, without waiting on an invitation.
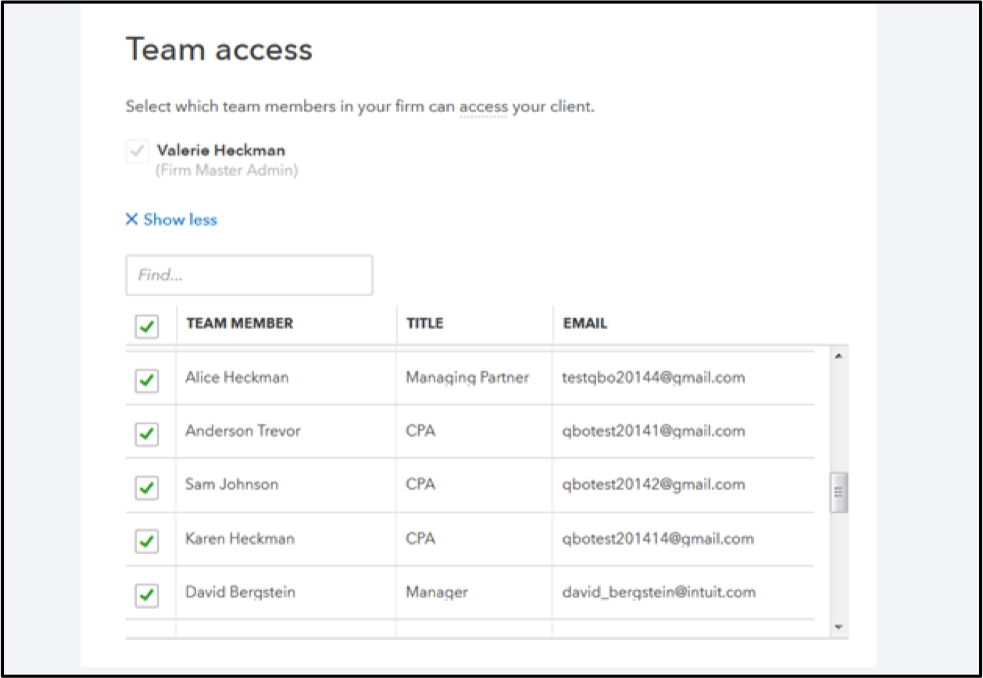
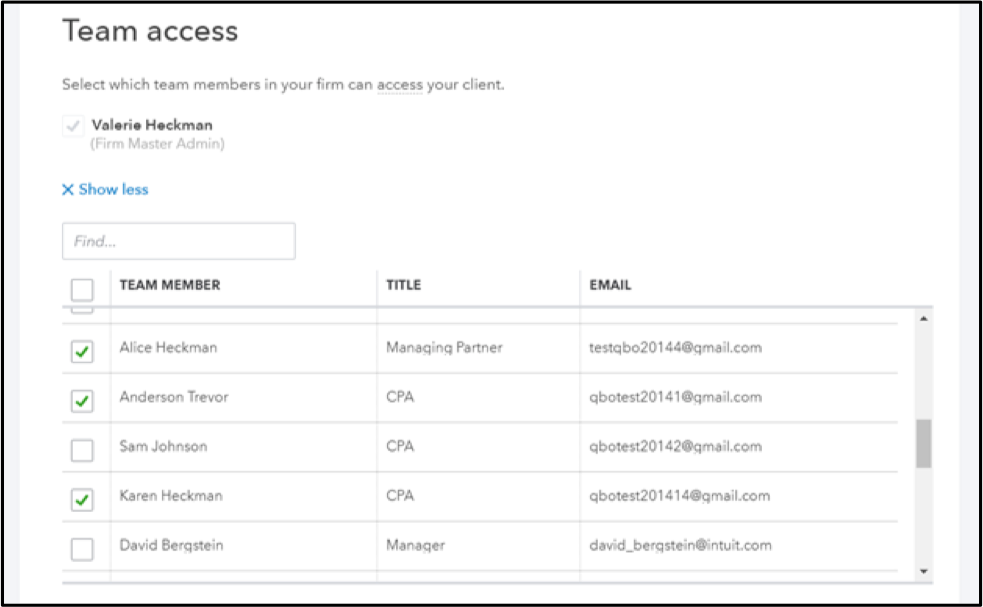
- Assign team members access to work on the client’s books, too. Multiple users can be logged in at the same time.
- Have more time to convert your client’s QuickBooks desktop file, if applicable.
How to add them to your list:
1. From the homepage of QuickBooks Online Accountant, Click Add Client in the upper right of your client list.
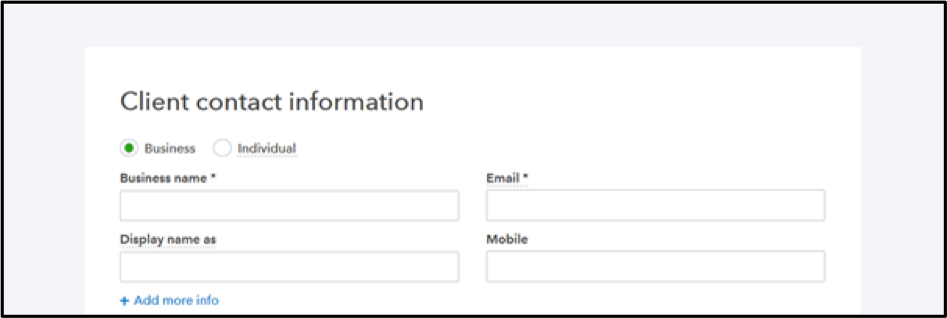
2. Under Client contact information, select whether your client is a Business or Individual and fill in their name and contact information. Click +Add more info if you’d like to add additional details now, such as a business address and phone number.
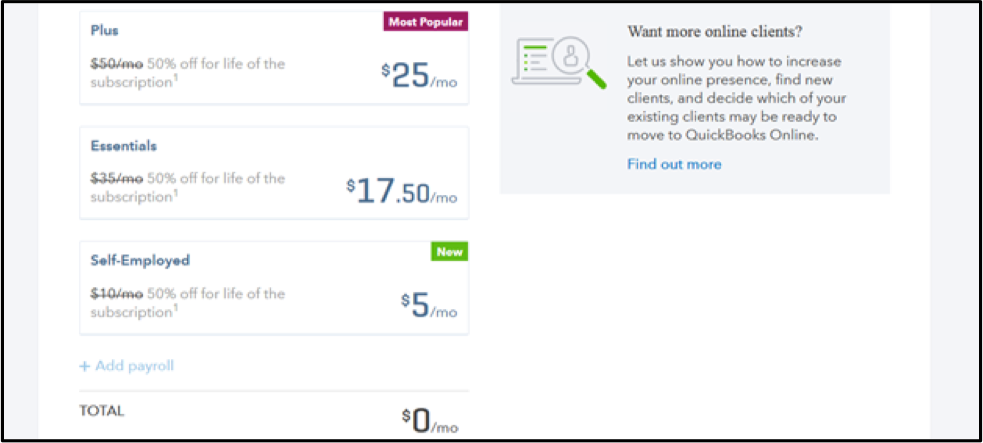
3. Under QuickBooks subscription, choose from the following billing and discount options:
- Direct discount: Your client pays for their own subscription. They will receive a discount for the first 12 months and pay the normal rate thereafter. If you choose this option, your client will receive an email asking them to enter their own billing information upon logging in.
- No subscription right now: Your client will be added to your client list without being subscribed to QuickBooks. We’ll talk about this in more detail when we look at the third client type.
After selecting the billing option, choose the type of subscription: QuickBooks Online Plus, QuickBooks Online Essentials or QuickBooks Self Employed. Click “Compare” to review the differences between them.
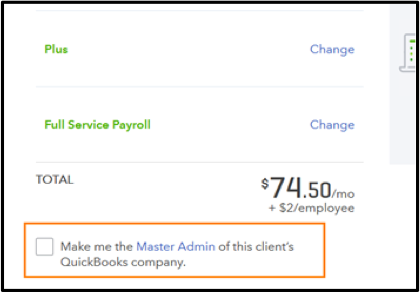
Note: You can bundle QuickBooks Enhanced Payroll or Full Service Payroll to a QuickBooks Online Plus or Essentials subscription. The total cost will update based on your choices.