Setting up Airtable for your accounting or bookkeeping firm
This is more than some assembly required. That’s the downside. The upside is that if you can conceive it, you can create it.
Think of QuickBooks® Online, or, better yet, QuickBooks Online Advanced.
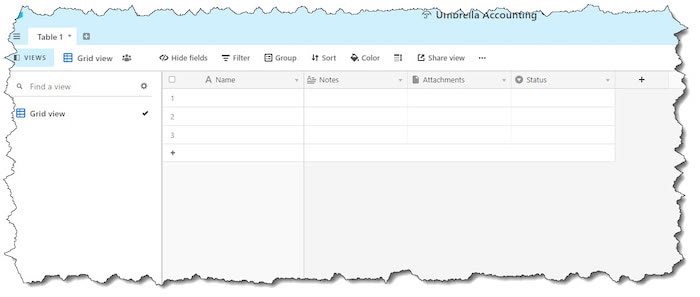
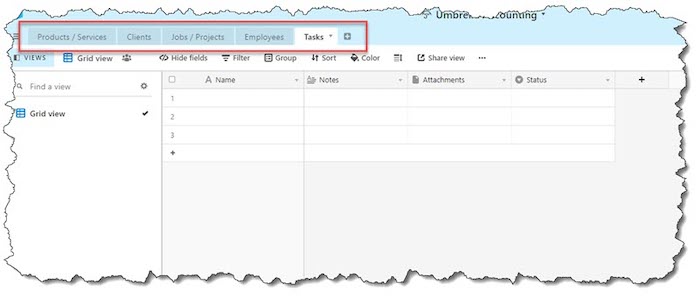
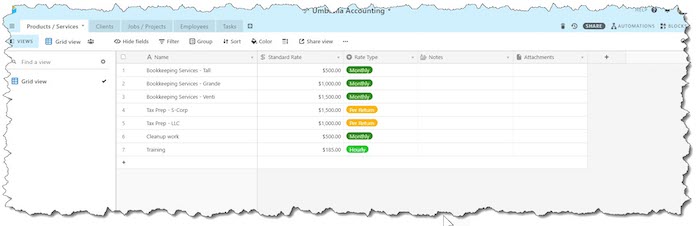
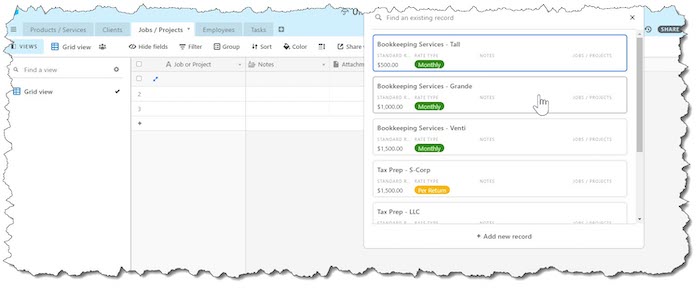
You’re dealing with a very robust database, containing lots of lists. Here are some examples of the type of information you can set up in Airtable:
- Products and services
- Clients
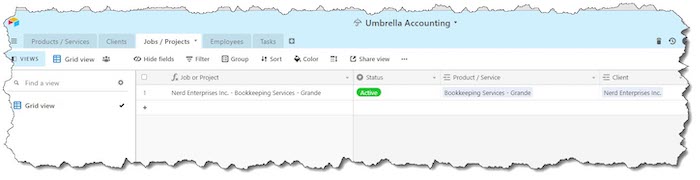
- Projects/jobs
- Employees, or as I like to call them, “nerds”
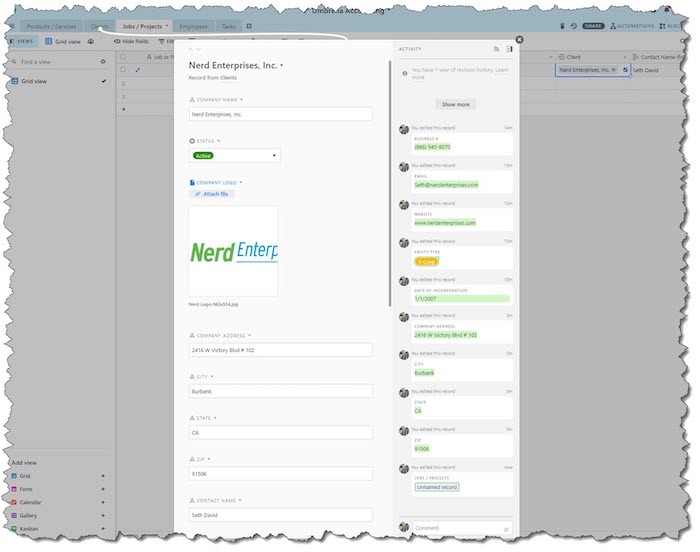
When tracking who’s doing what, when, where, and how, it’s nice to be able to do it on your terms. Airtable can be customized to give you exactly what you need.
I’ve looked at a lot of project management tools over the years. To this day, none of them give you a really clear view across every project on who’s doing what, when, where, and how. Airtable actually makes it very easy to do this, and there are some “blocks” we can use to make it even easier to analyze.
But, first, we must build the database. Then, we have to fill it with data. After that, we can analyze it. And, analyze we will!
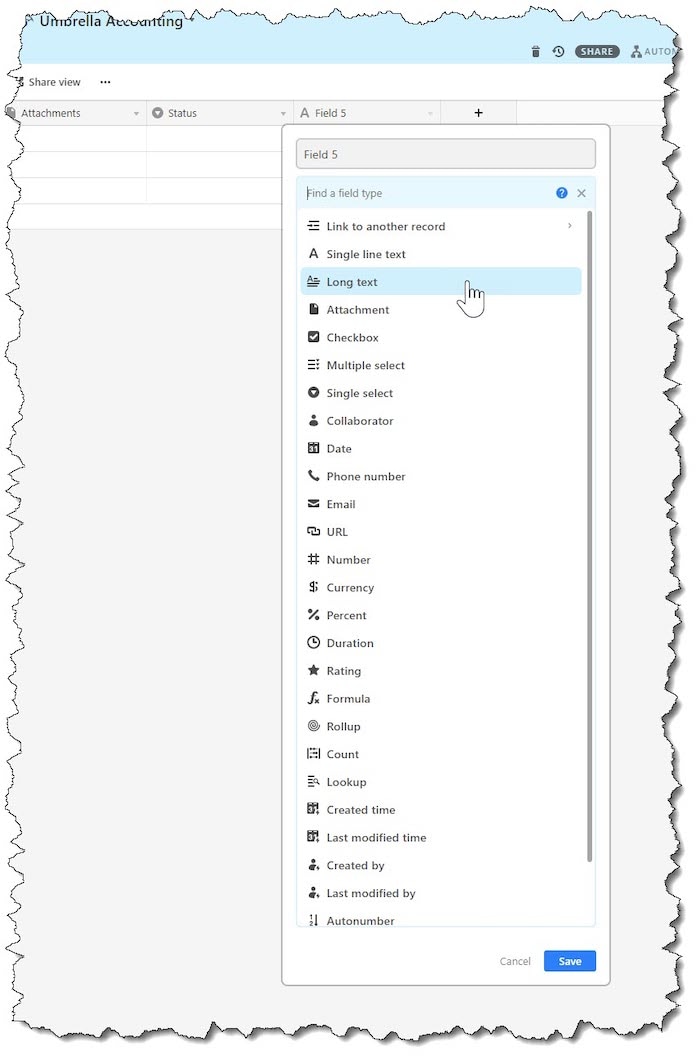
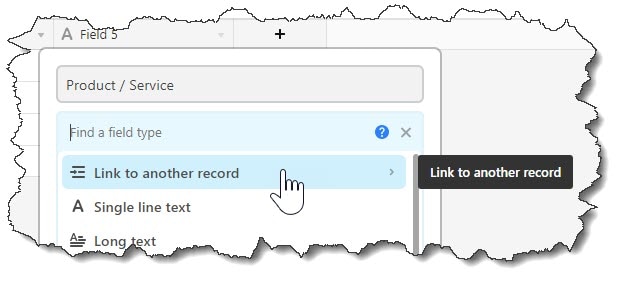
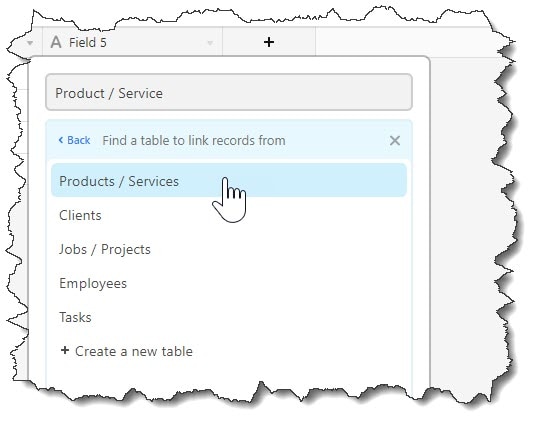
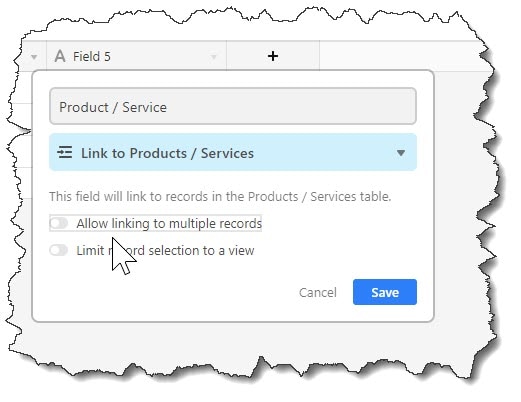
With Airtable, each column can be set up from a robust list of formats. They can be text, URL, Phone, email, currency, %, drop-downs, linked to another record (which we will use a lot), formulas, and many more.
What’s in an Airtable Base
When you click to add a new column, the default is single line text, but if you click that drop-down, you can see all of the choices: