Exploring the Notion app on a phone.
apps

Productivity apps: How to get started with Notion

For a while now, I’ve been missing a really good note-taking app.

At the same time, you may have noticed my obsession with a number of “productivity apps.” As I’ve studied more and more of these, my research has taught me a term that describes all of these apps perfectly: knowledge management.

Knowledge management

I thought I was settled back into Microsoft One Note for a bit, but then I tried to access an older notebook one day. It wasn’t there, even when I went to open it from the notebooks I had closed. After a good hour or two of struggling with the various Microsoft accounts I created and trying to figure out if it was a work account or a school account, I honestly can’t figure it out.

Eventually, I was able to recover the OneNote notebook I was looking for, but after that experience, the first thing I had to do was get it out of OneNote. I was literally afraid that I would one day permanently lose something I had in Microsoft.

For the time being, I settled on using ClickUp for notes because I was already doing that for my meeting notes. But, since I didn’t like using ClickUp as a note-taking app in general, I started using the Notepad more. However, even though Notepad is great for taking notes when I’m on the phone with a client or prospect, it’s not a digital note-taking app. And, if I’m being honest, I do not like ClickUp’s mobile app at all.

Then, I saw an article by a writer about how he uses Notion, and I was intrigued. And I checked the mobile app and saw that it was good. I was happy!

But, I wish I could have found an article a few weeks ago, like the one I’m about to write now.

I didn’t look that hard, but everything I found was designed to show you how they were already using it, rather than how to get started.

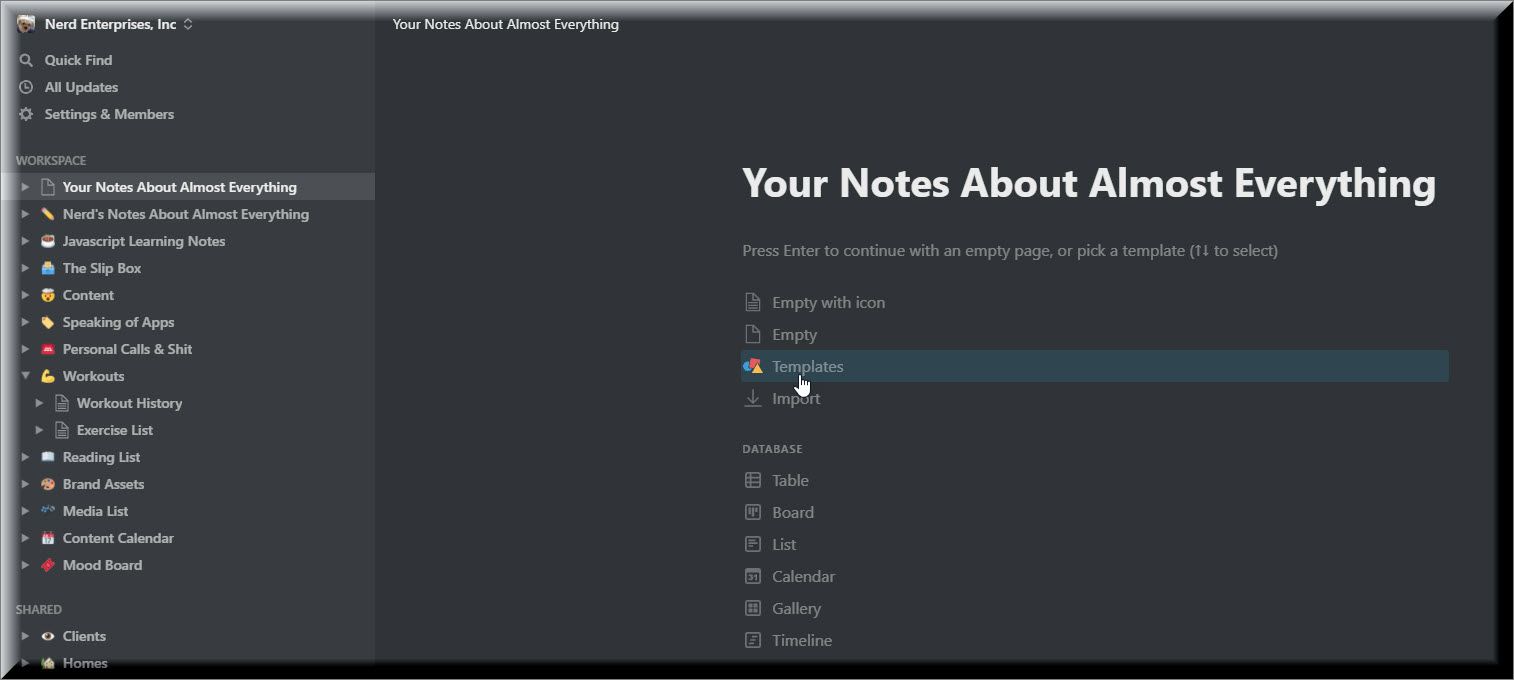
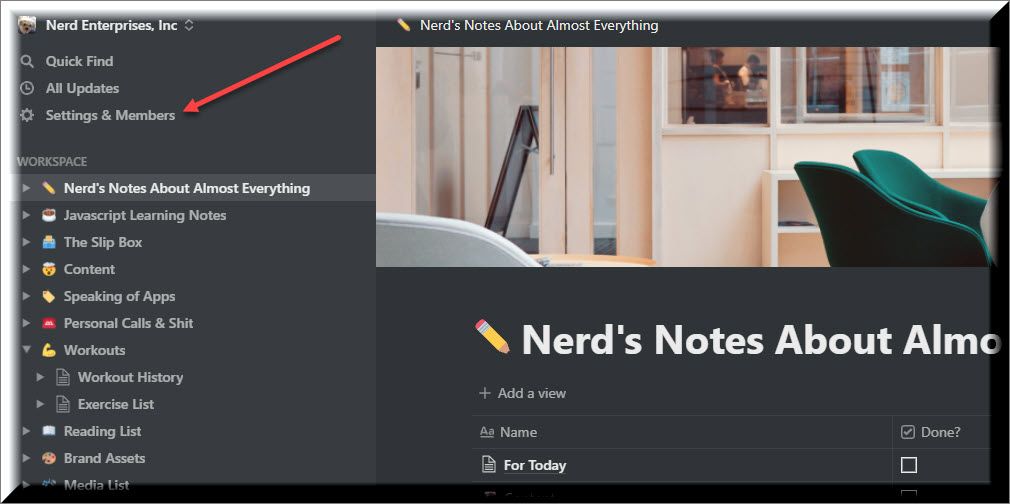
So, where do you start with Notion?

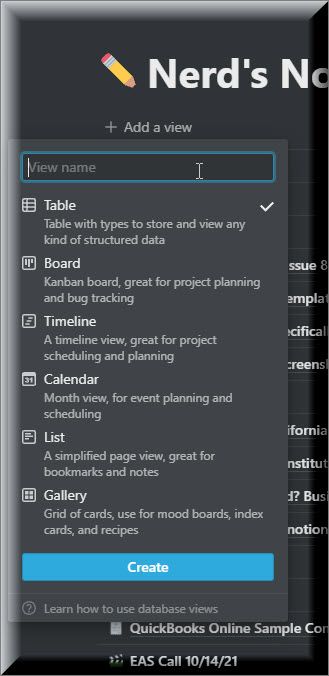
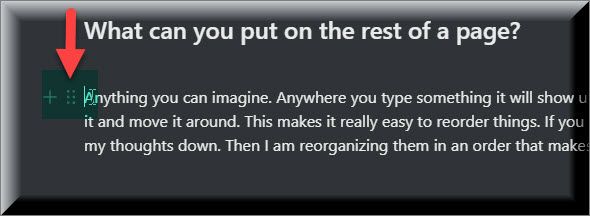
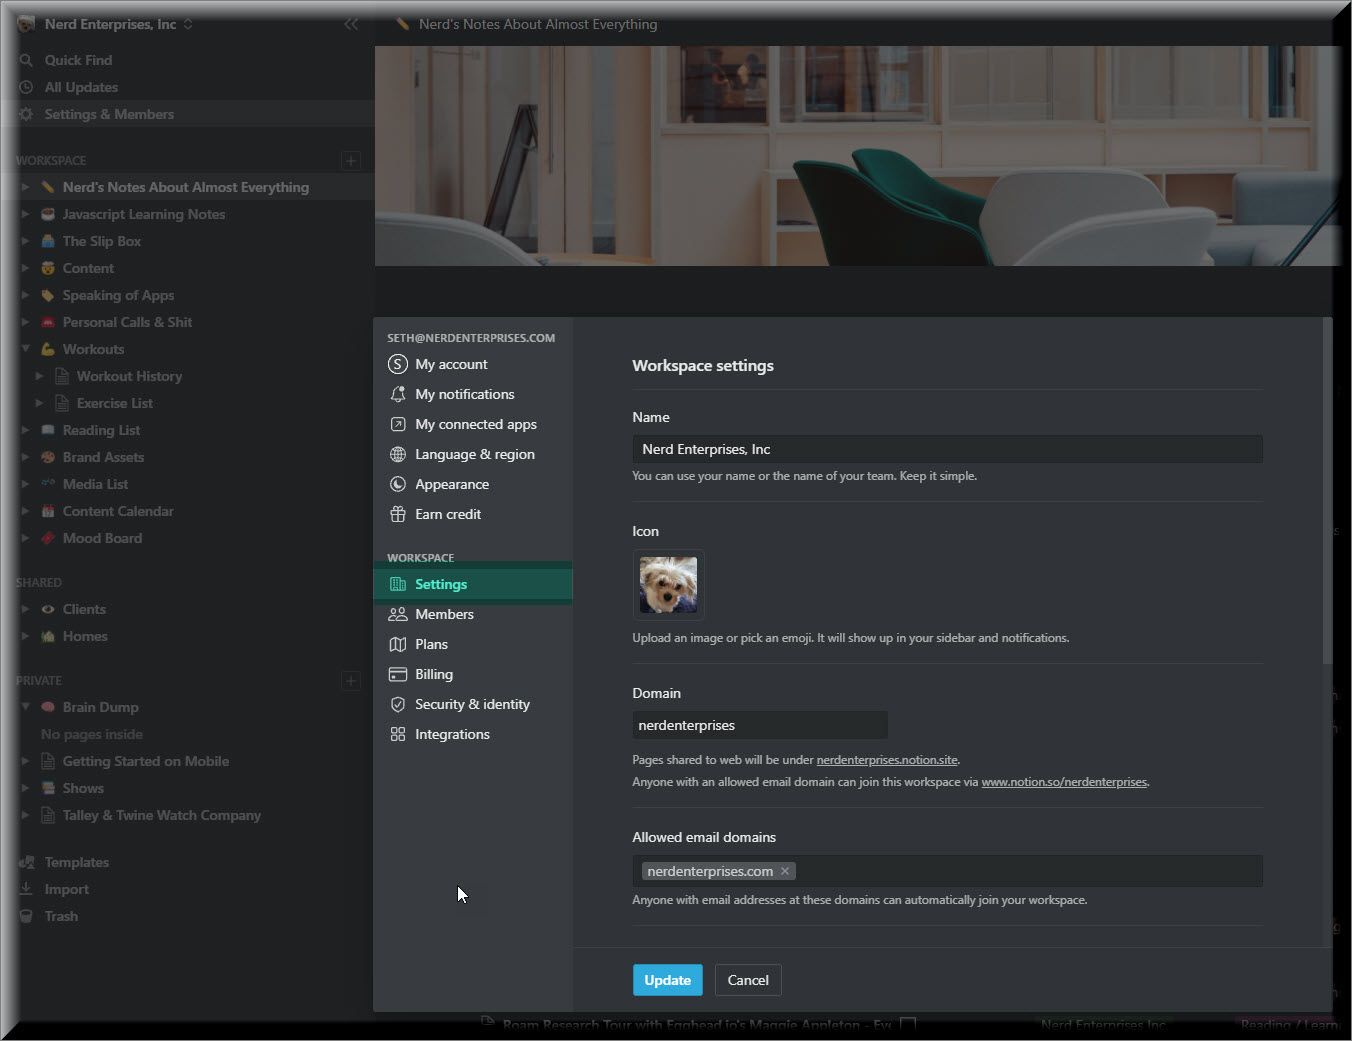
You literally start with a blank page in a blank workspace. And, you’ll notice that your workspace is really just a page at the top level. When you create your first page, you will see templates, among other things.

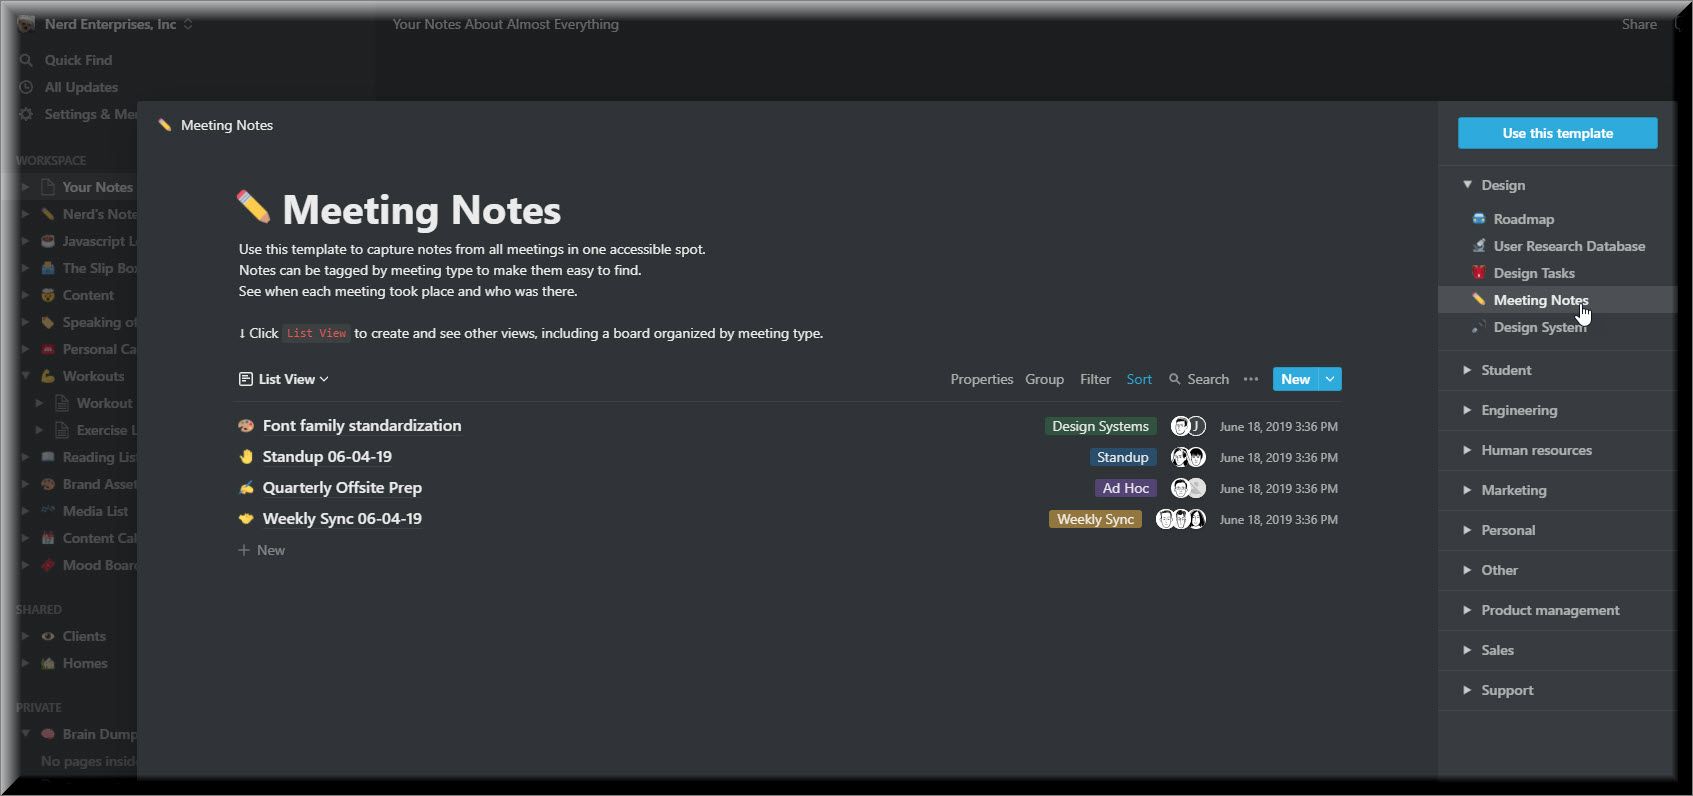
This is your first assignment: Browse the templates and see what you like for what you need. I started with a “Meeting” template, and then I tweaked it a bit.

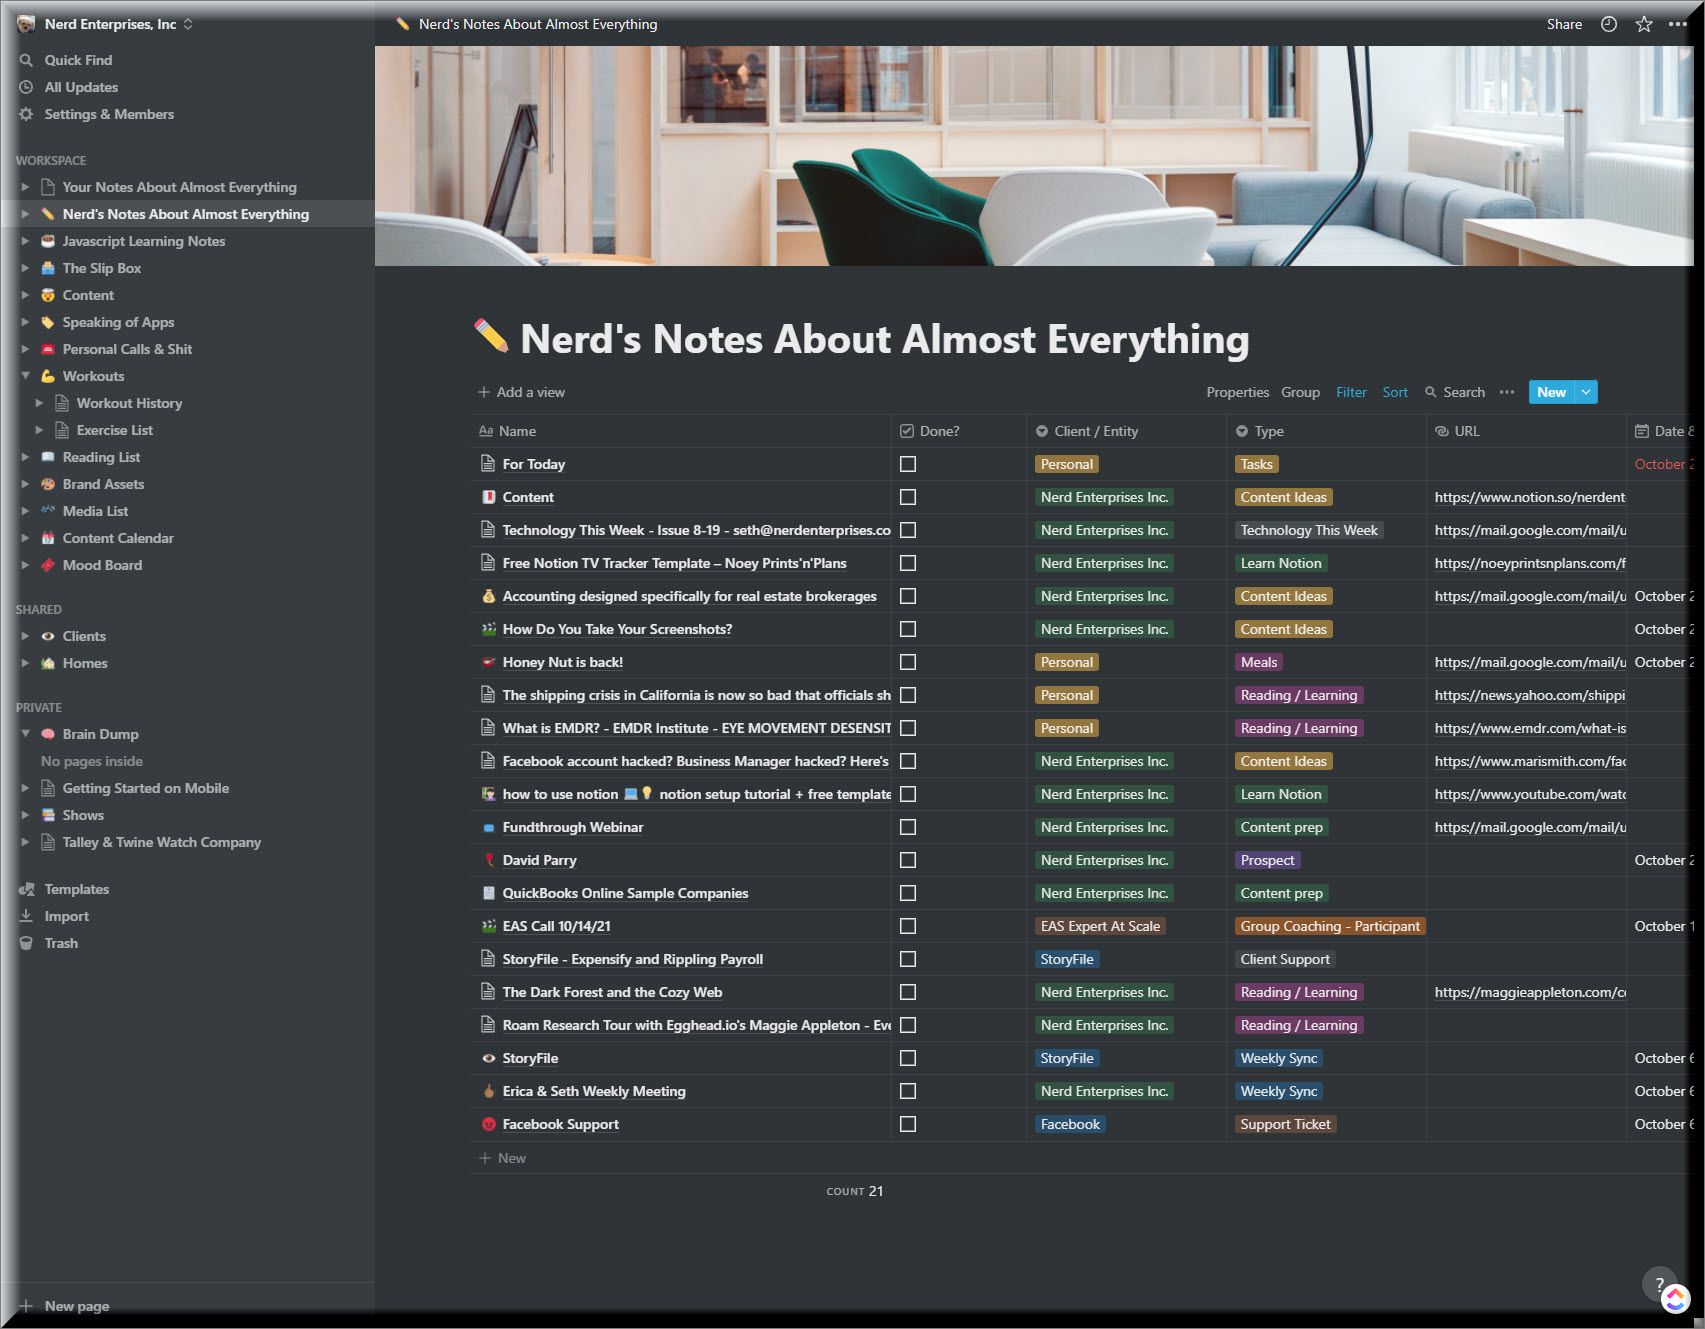
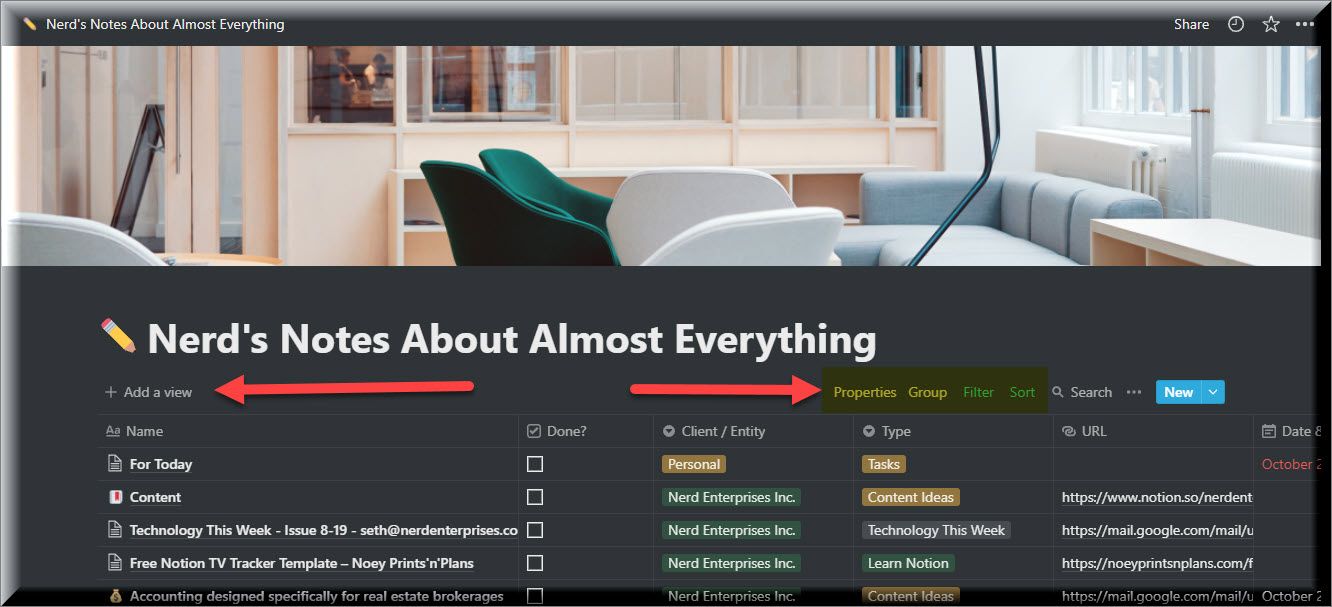
Add a few notes in there, so that you can play around with the things I am going to show you.

Here’s what mine looks like now:

I added a table view and realized I was home (i.e., comfortable) because I understood exactly what I wanted to do from here. This table is a list of pages, and now I just need to take notes and organize them across different entities and types. So, I added those columns (which Notion calls Properties). Each new note you create will contain these properties. You can see that I also added a Property for a URL, and it’s cut off, but the date was created. This is important to me.

Looking across the top, you can see your options:

Adding a view allows you to add a number of different views:


I would write out an explanation of each of these, but you will get the picture much more quickly if you go and play with each one. The Table view is what you’re seeing in mine, and I love it because it works a lot like Airtable. That brings me to the other options at the top of the table view. You can sort, filter, and group by anything in your table.

Ultimately, you will want to create multiple Table views with different sorting, filtering, and groupings, so that you can toggle between them. This is how this begins to work like a database.

This is why you don’t want to go creating a different workspace for each client, for example. You not only don’t need to do so, but you also don’t want to. That will keep them disconnected, and you want them connected so you can see everything. What you will probably want to do is create one workspace called “Clients,” and then everything client=related goes in there. But, don’t do that yet. I am going to cover how to set up Notion for your clients in a future post. For now, keep doing what you’re doing, and stay with me. I am going to make sure you don’t get overwhelmed and discouraged.

Your next assignment is to add properties (columns) to your table and play around. You can create starting and ending date columns. Then, note your options when you add a date to a page:


NO! You can’t do recurring dates!!!!!

Why?

Because you don’t need to. If you are using a page as a task and you are done with it, you can add a check box to mark it done, and then you can duplicate it. Or, you can just change the date. There is absolutely no reason whatsoever that you need recurring dates.

As long as you have a date property in your database, then you can add a calendar view. If you have multiple dates, then you will be able to select which date is used for the calendar view. You can create multiple calendar views. If you do have more than one date, you can create a timeline view with a starting and ending date.

As you create pages in the table, you will see them popped out. You can “open as a page,” which just means making it full screen. By now, you’ve probably noticed that I’ve taken the time to add cover images and an icon on most of mine. This is important! These visuals make it much easier to find what you’re looking for when you need it later. Plus, for me, I love the experience – I love having that Persian rug in my “Today” note.

Notice that my Today Note above has the properties at the top. These are the same properties that appear across the top in my table, where this note lives. You can choose which ones you see in the table, and you can change which ones you see when you open the page:

As you can see, it’s self-explanatory. You can choose to “Always show, Hide when empty, or Always hide.”

When you do have hidden properties, you will see that option (lower left in the above screen shot) to show (i.e., 3 more properties).

What can you put on the rest of a page?

Anything you can imagine. Anywhere you type something, it will show up as a block. Hover your mouse over it, and you will see where you can click to drag it and move it around. This makes it really easy to reorder things. If you write like I do, then you will find this comes in handy because, at first, I am just getting my thoughts down. Then, I am reorganizing them in an order that makes sense.

As you drag a block around on a page, Notion will give you a blue guide so you can clearly see where you are going to drop it when you let go.

Hint: If you drag a block far enough to the right, Notion will put it in a new column.

You’ll probably figure this out quickly on your own, but if you highlight your text, you will see an editor bar come up. This is how you can format your text.

There are many things you can add to a page to help you format and organize information.

Want a bulleted list? Type “/Bullet”

Want a list of check boxes? “/To-do”

In general, hit the forward slash “/” and browse your options to see all of the things you can add to a page. And go play. Set aside time to learn this app.

Now, you can see how my Today note came together:

The blocks that are highlighted are “Callouts.”

And, once I created the “Number of Water Bottle Drunk” section, I clicked and dragged on the page to highlight all of it. Then, I dragged it all the way to the right to create a new column.

Things I wish one of the tutorials I watched had explained

The “Full Width” option

As you can imagine, this gives you more room to work with:


Toggle Wrap Text Off on tables

I personally hate wrap text just about anywhere. It makes your row heights uneven, and that really messes with my OCD. It’s on by default, and if you are showing a URL property in your table, this will come up quickly.

Settings

Once you start playing around, you are going to want to customize your overall experience. For example, how did I get Dark Mode turned on? Also, if you decide to share a page with a public link, you will get a funny domain. You can change this. You will also want to check out billing options, how to add members, and so on.

If you are on a computer, click Settings & Members at the top left:


Take the time to go through each of these and get familiar. Most of it will be self-explanatory. You can see where to go to update your domain.


Image Alt Text

Prior to this block, my Notion app indicates that I’ve written 1,636 words. I think that and a video should be enough to get you started and well on your way.


Now go play! Playing is the best way to learn because that means you’re having fun with it and seeing what you can do. Explore the possibilities.

And, if you have questions, I’m easy to find!

Source: Clio Legal Trends Report 2020


  1. Workflows for accounts receivable: With workflows, you set the system up to send out the reminders on the due date and when the invoice is overdue. You can filter it down using the client types, or just specific customers. It’s very flexible. Once the system is set up to work for you, another manual process is swept away by automation.
  2. Set up a policy and procedures with the accounts receivable staff: What happens when a customer doesn’t pay after a predetermined amount of time? Get the entire staff on the same page, with written policies and procedures for your firm.
  3. Consider customer payment plans: Depending on the firm, if their practice area includes family law, the funds to pay the attorney may be slim. But, if you create a workflow with a flat fee and progress billing, this is a doable system.
  4. Collections and write downs: We all know this is the last resort. Work with the attorney of record on how this should be handled. Attorneys are notorious for not following up on late payers. This is where we can assist the team. There are also firms out there that specialize in collections. Some are automated, such as the app CollBox, and some outside firms can provide a more personalized, softer touch.

The strategy meeting

When we have that initial strategy meeting on accounts receivable, we always start here. We talk to the staff to learn how it was being done, and see where we can make improvements to the system.

I often find that the clients’ staff is struggling with antiquated systems, and are often doing work that is redundant and clunky. The accounts receivable staff has trouble just finding the time to keep up with entering payments and bank deposits.

With the accounting team’s assistance at our firm, we can typically set goals, such as no invoices outside of 30 days in six months. We help collect, clean up, and streamline the processes with QuickBooks Online Advanced automation features. We implement these new workflows that include automation, which will also result in fewer errors. The staff is often delighted that we are there to assist and take the initiative.

The significant win here is improved cash flow and increased revenue. And, who wouldn’t want that for your client? Hey, we even have a widget for that in QuickBooks Online Advanced.

This is just one area where you can add a more advisory role to your customers. Having a plan and setting goals is the number one way to motivate the entire staff.

Want a deeper dive? Check out these resources and tips

Would you like to learn more about how to have that advisory conversation, using tools like QuickBooks Online Advance’s Performance Center? Join us at Scaling New Heights, where we do a session called “Role Play Your Way to Advisory.” I’ll be teaching it along with my sidekick, Matthew Fulton. We hope you join us for more on this very important topic.

It takes teamwork to get to this place. I find that the partners are often excited by the idea of 30-day accounts receivable.

These are just a few of the suggestions you can implement in your practice to add advisory services and use the power behind the Performance Center’s graphical user interface and features inside QuickBooks Online Advanced.

The time is now to elevate your practice and your services to include this high-level support with your clients. Not only will your customers appreciate the process, but they will also see an almost instant improvement in cash flow, and possibly a staff member that can do more high-level work than processing checks and creating deposits.


Get the latest to your inbox

Get the latest product updates and certification news to help you grow your practice.

By clicking “Submit,” you agree to permit Intuit to contact you regarding QuickBooks and have read and acknowledge our Privacy Statement.

Thanks for subscribing.

Relevant resources to help start, run, and grow your business.

Looking for something else?

Get QuickBooks

Smart features made for your business. We've got you covered.

Tax Pro Center

Expert advice and resources for today’s accounting professionals.

QuickBooks Support

Get help with QuickBooks. Find articles, video tutorials, and more.

How can we help?
Talk to sales 1-800-497-1712

Monday - Friday, 5 AM to 6 PM PT

Get product support